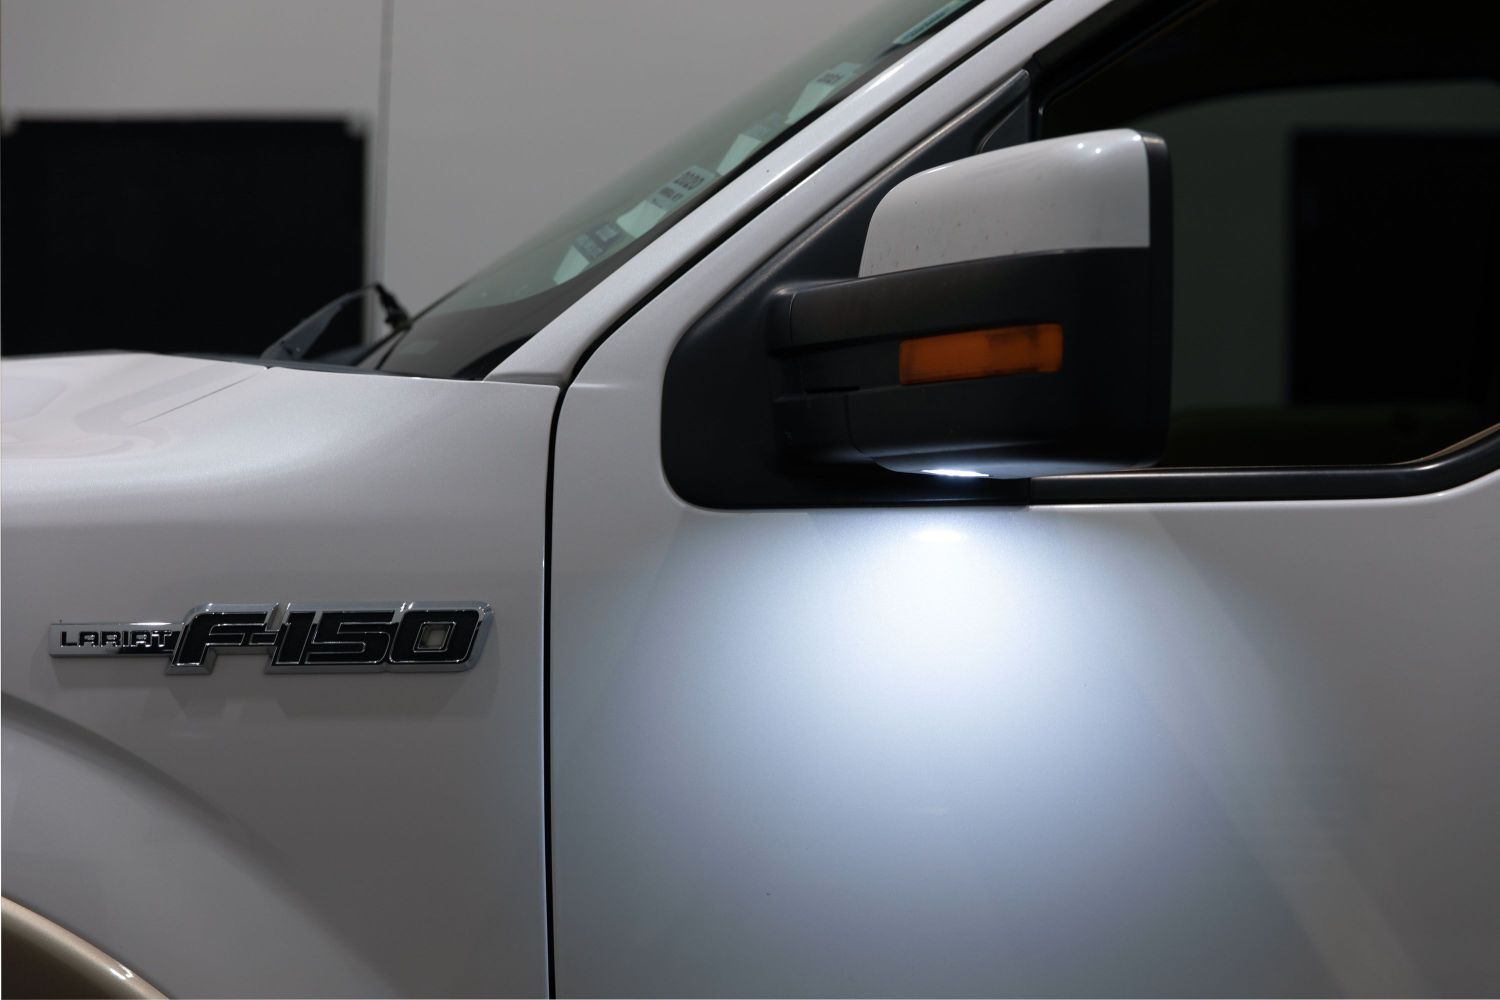
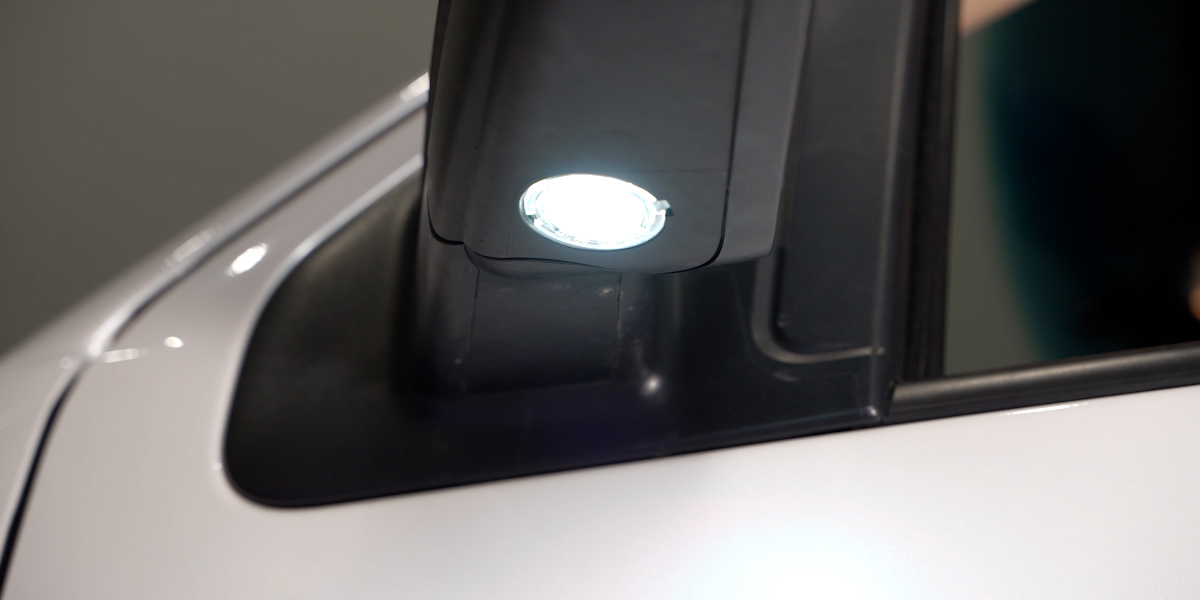
FORM Lighting LED Puddle Lights are the perfect way to give your vehicle an upgrade in styling and appearance. The following installation guide will provide you with detailed instructions on how to install FORM Lighting's LED Puddle Lights. Check out our installation video, or continue reading for step-by-step instructions below!
Table of Contents
Installation Video
Installation Tools
- Plastic Trim Removal Tool
Mounting Instructions
Step 1 - Remove Factory Light
Start by locating the open notches on your factory light.
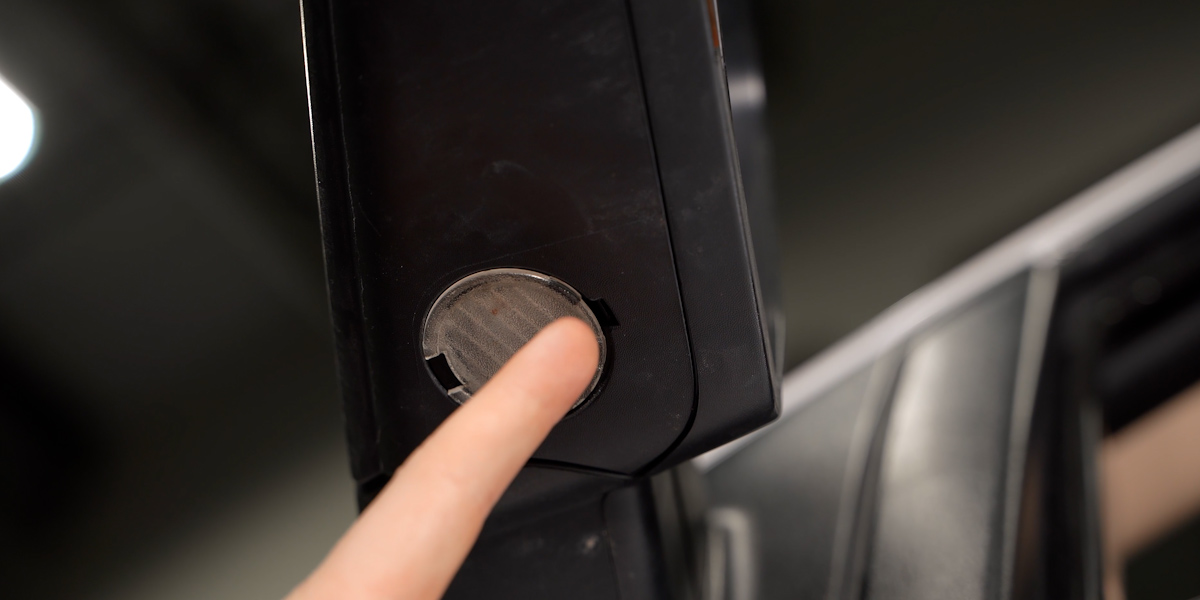
Wedge your trim tool into one of these notches and pry the light away from the mirror.
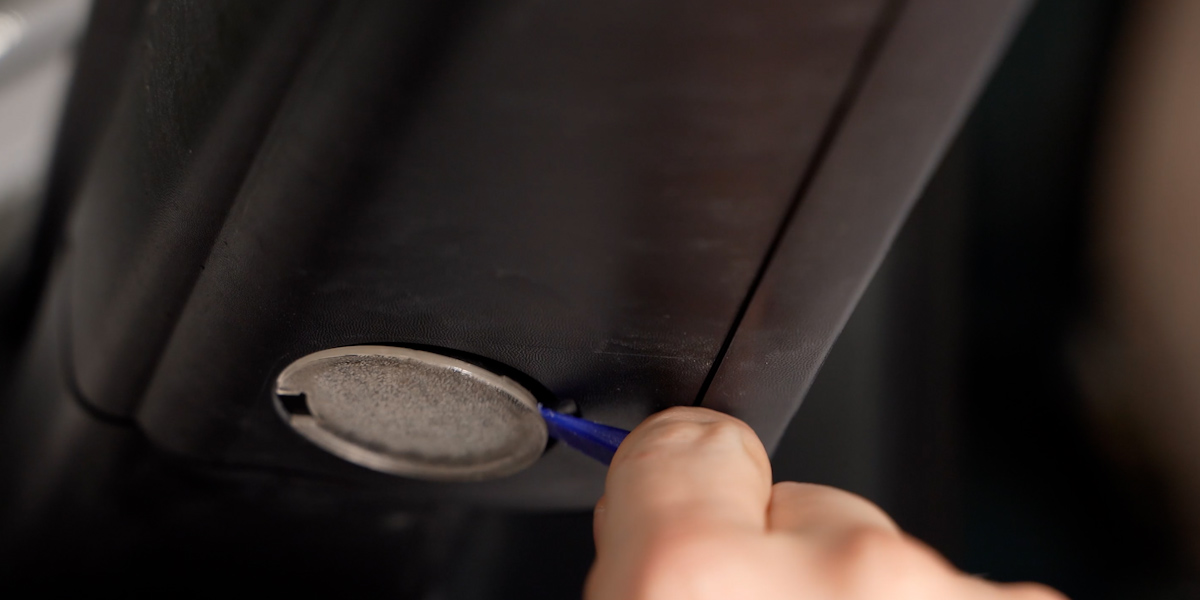
Now that the light has popped out of place you can disconnect the wires from the back of the light.
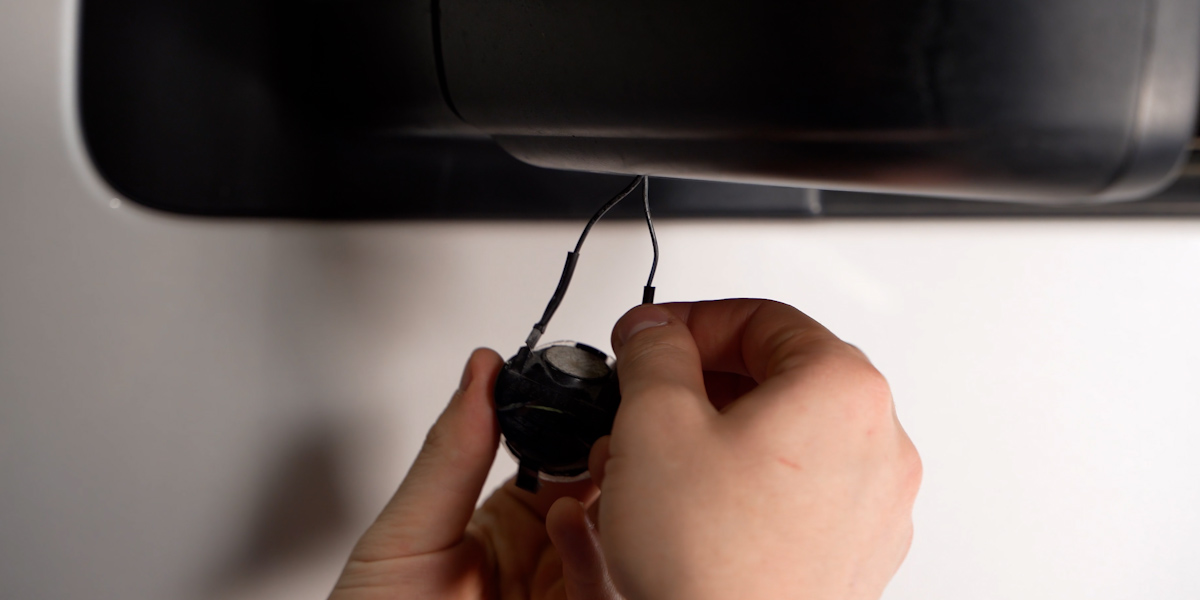
Step 2 - Installing Your New Light
Plug in the factory connectors to the back of your new light and test for functionality.
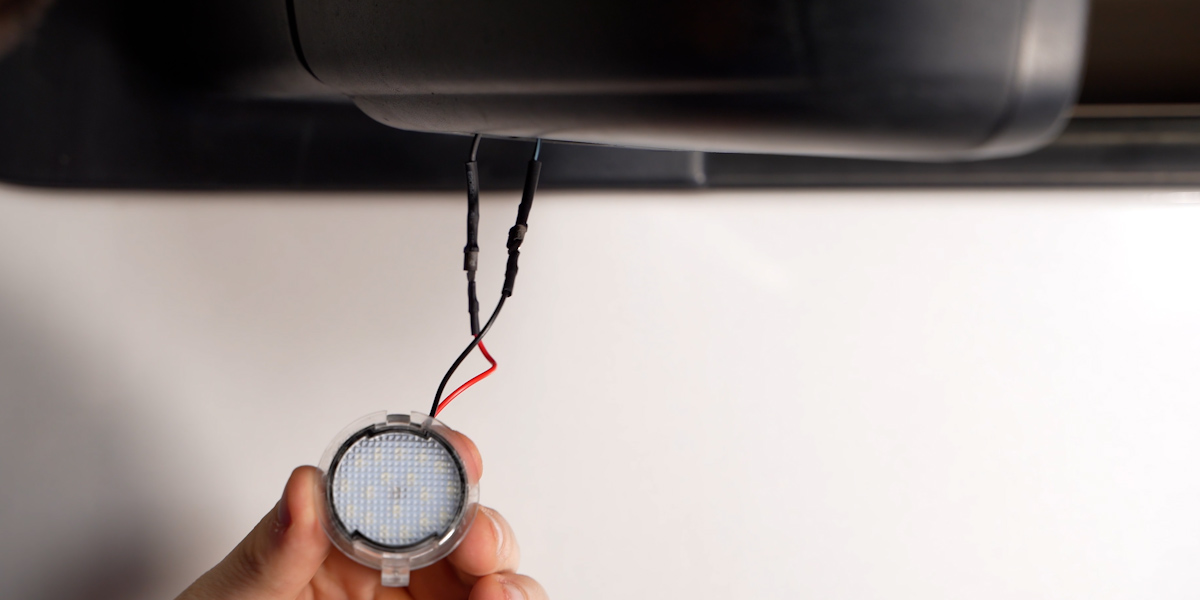
If the light does not come on, simply switch the connectors over to opposite sides and test again.
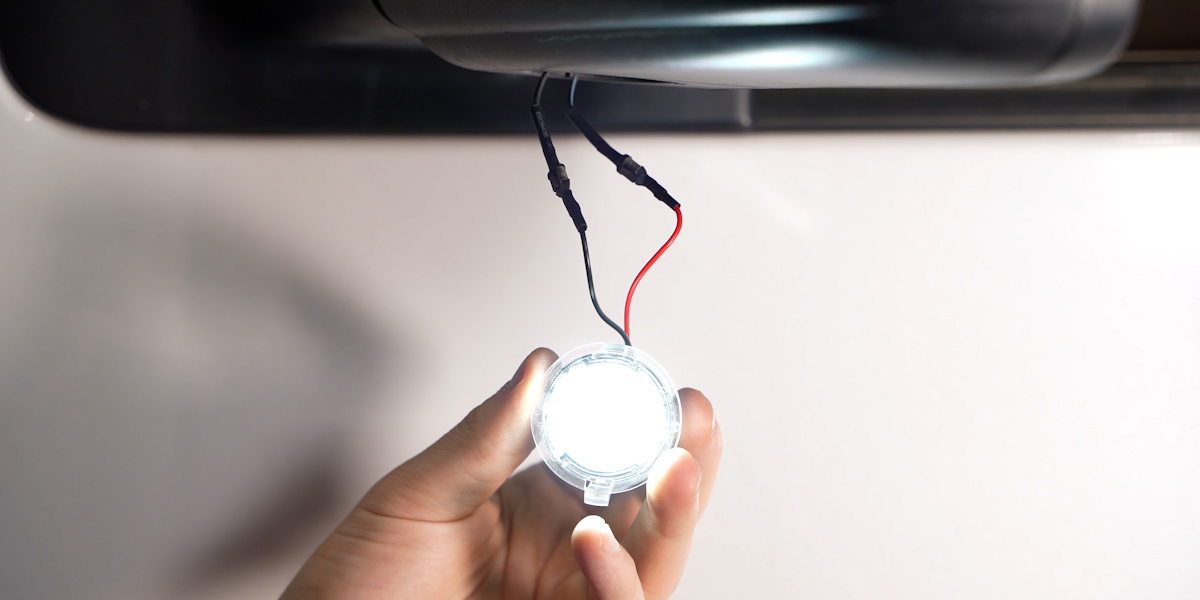
Once you have verified that it is functioning properly you can snap your new light back into the mirror by reversing the steps we used to remove it.
This completes the installation. Now enjoy your new FORM Lighting LED Puddle Light!
Questions About the Installation?
If you have any questions or issues installing Form Lighting's LED Puddle Lights for your vehicle, please contact us for further assistance.
Where Can I Buy Form Lighting LED Puddle Lights?
If you’re ready to upgrade your vehicle with Form Lighting's LED Puddle Lights, you can purchase them by clicking here, or use our dealer locator to find a dealer near you.
Want to know more about Form Lighting products? Visit FormLights.com and subscribe to our newsletter for new product releases and more!
This Installation Guide is for the following SKU: FL0024, FL0025, FL0026, FL0070, FL0073, FL0074

