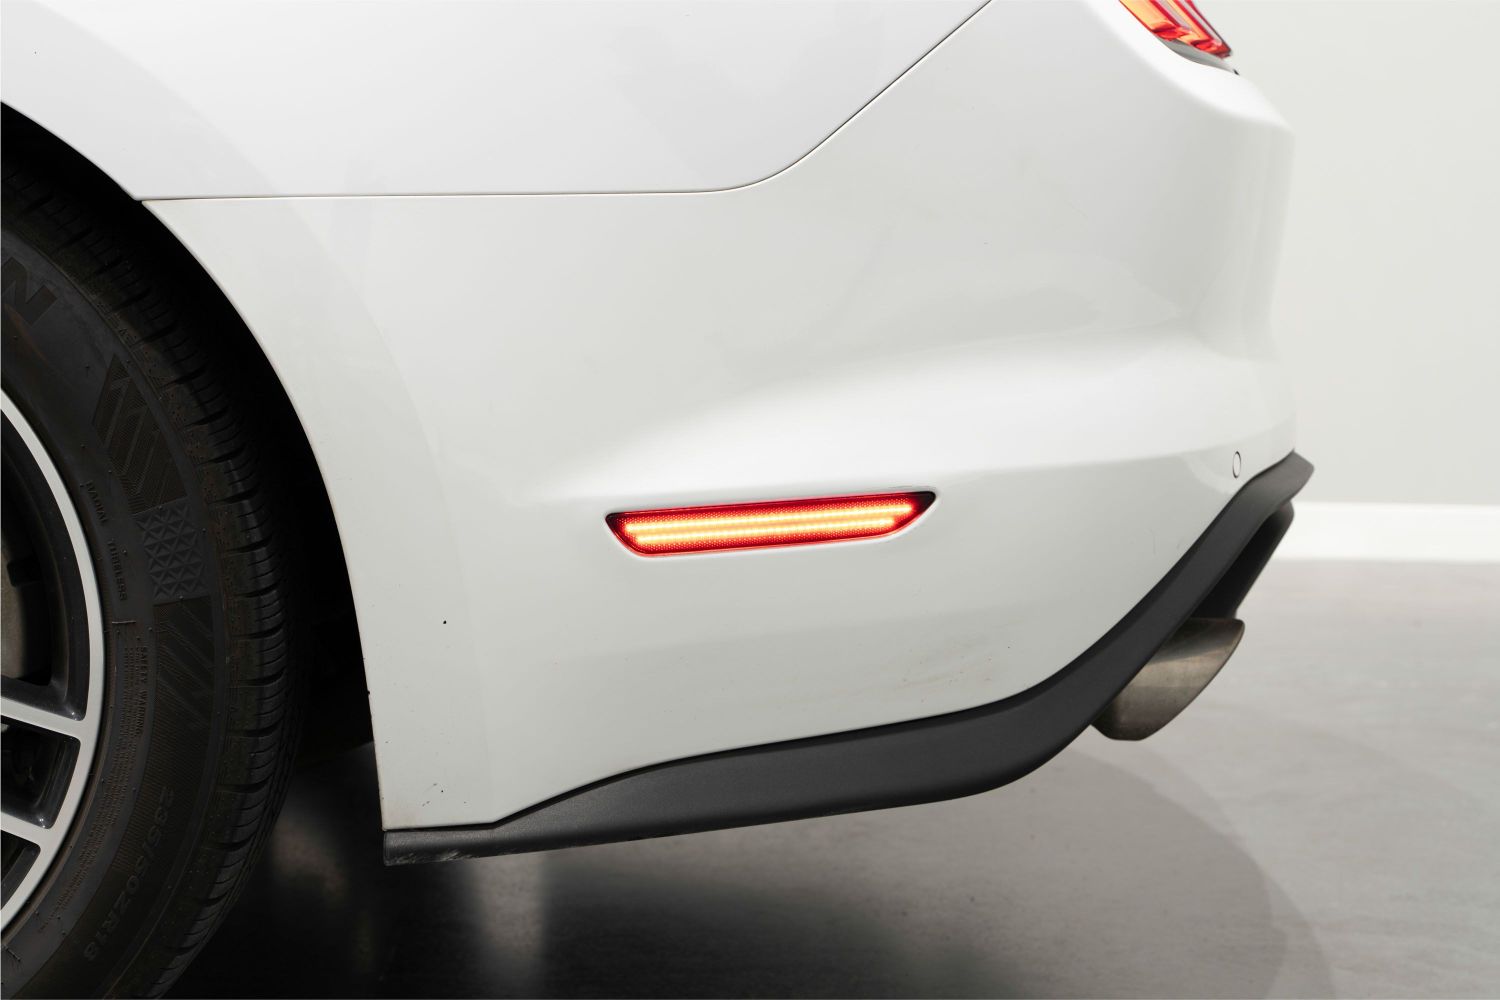
FORM Lighting LED Sidemarkers are the perfect way to give your vehicle an upgrade in styling and appearance. The following installation guide will provide you with detailed instructions on how to install FORM Lighting LED Sidemarkers. Continue reading for step-by-step instructions below!
Table of Contents
Installation Instructions
Step 1 - Remove Factory Sidemarker
Remove the factory sidemarker by reaching behind and depressing the tab on the side closest to the wheel well. Once the tab is unclipped, slide the sidemarker towards the wheel well to pull the sidemarker housing out.
Step 2 - Disconnect Factory Harness
Looking at the factory sidemarker housing, depress the clip to remove the sidemarker and bulb socket completely. Set the factory sidemarker aside. It will not be reused.
Step 3 - Plug-In LED Sidemarker
Install your new FORM Lighting LED Sidemarker by plugging the sidemarker into the factory wiring harness.
Step 4 - Slide LED Sidemarker In Place
Finish your installation by sliding and clipping your new LED sidemarker into place.
Questions About the Installation?
If you have any questions or issues installing FORM Lighting LED Sidemarkers for your vehicle, please contact us for further information.
Where Can I Buy FORM Lighting LED Sidemarkers for my vehicle?
If you're ready to upgrade your ride with LED Sidemarkers, you can purchase them by clicking here or using our dealer locator to find a dealer near you.
Want to know more about FORM Lighting products? Visit FormLights.com and subscribe to our newsletter for new product releases and more!
This Installation Guide is for the following SKU: FL0040, FL0041,FL0042, FL0044, FL0048, FL0059, FL0061, FL0062, FL0063

